—
TITLE—
How to Install a Reverse Osmosis System Under the Sink – A Comprehensive Guide for Your Home
—
META—
Learn how to install a reverse osmosis system under your sink in just 9 steps. Get clean, pure water with our expert guide.
—
EXCERPT—
Discover how to install a reverse osmosis (RO) system under your kitchen sink with this detailed step-by-step guide. Learn about the benefits of RO systems and find out what tools you’ll need before starting your project.
—
CONTENT—
Understanding How to Install a Reverse Osmosis System Under the Sink
Reverse osmosis (RO) is a water purification process that uses pressure to force water molecules through a semi-permeable membrane, effectively removing contaminants. Installing an RO system under your sink can provide you with clean and safe drinking water directly from your tap.
Install A Reverse Osmosis System Under The Sink – Materials and Tools for Reverse Osmosis System Installation
Before you begin the installation process, ensure you have all necessary materials and tools:
- Reverse osmosis system kit (with pre- and post-filters)
- Pipe wrench or adjustable wrench
- Crowbar or flathead screwdriver for removing sink hardware
- Screwdrivers, pliers, and a Phillips head bit set
- Water test kit (if you haven’t already tested your water)
- Measuring tape
- Drill with appropriate bits if needed for drilling holes in the countertop or cabinet
- Plumber’s putty and silicone sealant
- Cleaning supplies (vinegar, baking soda, and water for cleaning tools)
Install A Reverse Osmosis System Under The Sink – Preparation Steps for Reverse Osmosis System Installation
1. Test your water quality: Use a water test kit to determine the levels of contaminants in your water. This will help you choose the appropriate pre-filters for your RO system.
2. Remove existing sink hardware: Use a crowbar or flathead screwdriver to remove any existing faucet handles and other hardware. Clean the area thoroughly with a mixture of vinegar and baking soda.
3. Measure the countertop space: Measure the space where you will install the RO system, ensuring there is enough room for all components.
Installation Steps for Reverse Osmosis System
1. Install the water supply line: Cut a hole in the countertop using a drill and appropriate bits. Attach the water supply line to the cold water inlet on your RO system.
2. Attach the faucet: Position the new sink faucet over the RO system, ensuring it is level. Secure it with the provided mounting hardware.
3. Install pre-filters (if needed): Depending on your test results, you may need to install additional pre-filters before the RO membrane to remove larger particles and reduce the load on the membrane.
4. Assemble the RO system: Follow the manufacturer’s instructions to connect all components of the RO system. Ensure that all connections are tight and leak-free.
Installation of the Reverse Osmosis Membrane
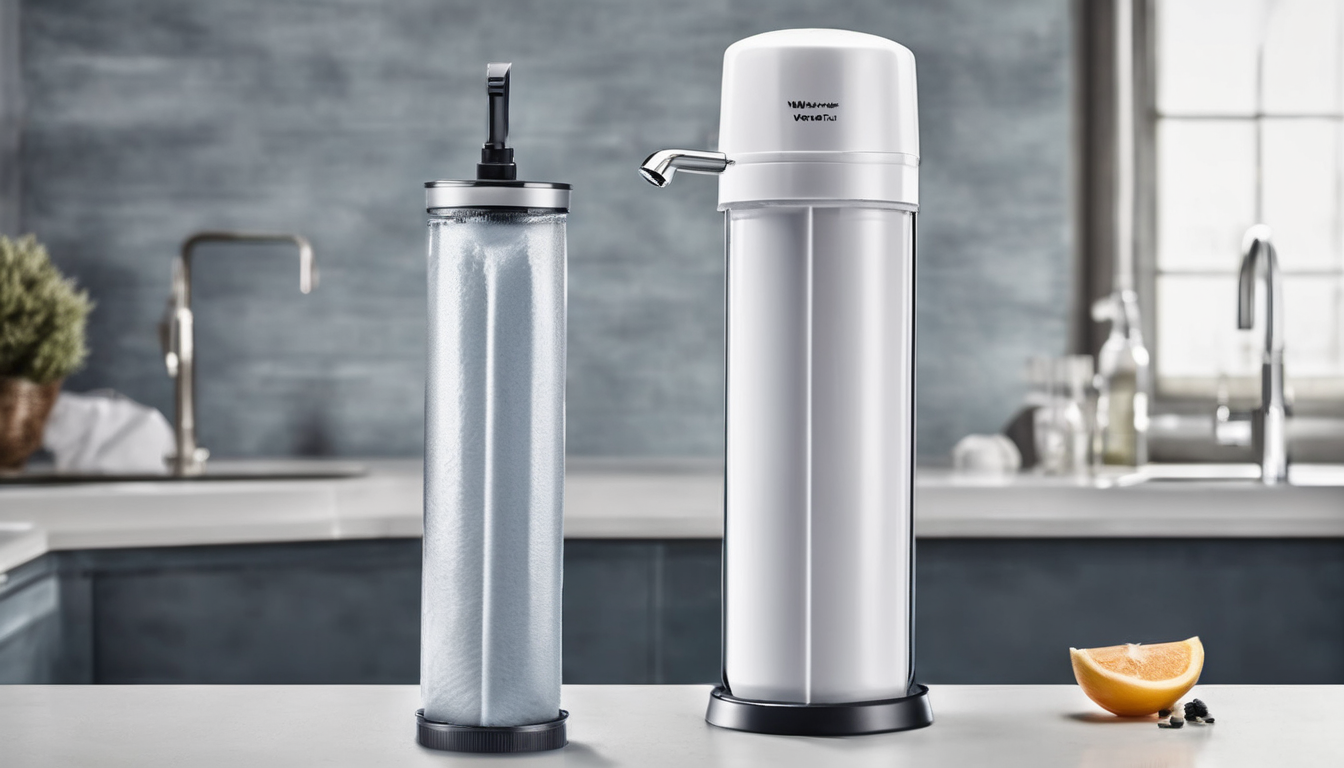
1. Attach the membrane housing: Place the membrane housing onto the RO unit, ensuring it is properly aligned.
2. Insert the membrane: Carefully insert the RO membrane into the housing, making sure to align the arrows and ensure proper seating.
3. Connect the concentrate drain line: Attach the concentrate drain line to the appropriate outlet on the RO system. This line should be directed to a floor drain or other suitable location.
Testing and Finalizing the Reverse Osmosis System
1. Check for leaks: Turn on the water supply and check all connections for any leaks.
2. Prime the system: Allow the RO system to prime by running the faucet until you see clean, clear water coming out.
3. Test your water quality: Use a water test kit again to ensure that your water is now free from contaminants. This relates directly to Install A Reverse Osmosis System Under The Sink.
Expert Tips for Installing a Reverse Osmosis System Under the Sink
1. Consult with professionals: If you are unsure about any steps or if your water quality issues are severe, consider consulting a professional plumber.
2. Regular maintenance: Schedule regular maintenance to clean and replace filters as needed.
3. Check for local regulations: Ensure that your installation complies with local building codes and regulations.
FAQ
Q: How long does an RO system last?
A: The lifespan of an RO system can vary based on usage, water quality, and maintenance. Typically, the membrane lasts between 2 to 5 years.
Q: Can I install the system myself?
A: Yes, you can, but if you are unsure or dealing with complex water issues, it is recommended to seek professional assistance.
Q: Do I need a water softener along with an RO system?
A: It depends on your specific water quality. If there are significant minerals in your water, combining a water softener with an RO system can provide better results.
Conclusion
Installing a reverse osmosis system under the sink is a straightforward process that can significantly improve the taste and safety of your drinking water. By following these detailed steps, you can ensure a successful installation and enjoy clean, pure water for years to come.
—
TAGS—
reverse osmosis system installation, under sink reverse osmosis, water filtration systems
—
ALT_TEXT—
How to Install a Reverse Osmosis System Under the Sink – step-by-step guide for clean water at home