Understanding DIY Water Test Kit Maintenance: Ensuring Accurate Readings is essential.
Table of Contents
Introduction to DIY Water Test Kit Maintenance: Ensuring Accurate Readings
Ensuring the accuracy of your DIY water test kit is crucial for maintaining a safe and healthy home environment. In this comprehensive guide, we will explore how you can perform maintenance tasks that will keep your water testing results accurate. This article covers everything from understanding common results to best practices in handling and storing your test kits. This relates directly to Diy Water Test Kit Maintenance: Ensuring Accurate Readings.
Why Accurate Readings Matter for Your Family’s Health
Accurate readings are essential because they provide the information needed to make informed decisions about water filtration. Dubai, UAE’s Water Filtration in Dubai regulations require that residents have access to safe drinking water. By regularly maintaining your DIY water test kit and ensuring accurate results, you can protect your family from harmful contaminants such as lead, chlorine, and bacteria.
Understanding Common Results and Their Meaning
There are several common tests that you might perform with a DIY water test kit. These include pH levels, total dissolved solids (TDS), turbidity, nitrates, nitrites, lead, fluoride, and bacteria. When considering Diy Water Test Kit Maintenance: Ensuring Accurate Readings, this becomes clear.
- pH Levels: Indicates the acidity or alkalinity of your water. Ideal range is between 6.5-8.5.
- Total Dissolved Solids (TDS): Measures minerals dissolved in water, with high levels indicating potential health risks.
- Turbidity: Assesses the clarity of your water; higher turbidity can indicate contamination.
- Nitrates and Nitrites: Common in agricultural areas, these contaminants are harmful to infants.
- Lead: A serious concern, especially in older homes with lead pipes or fixtures. Lead exposure is particularly dangerous for children.
- Fluoride: Essential for dental health but excessive levels can be detrimental. The ideal range is between 0.2-1.5 mg/L.
- Bacteria: Presence of E.coli or other pathogens indicates contaminated water that poses a serious risk to human health.
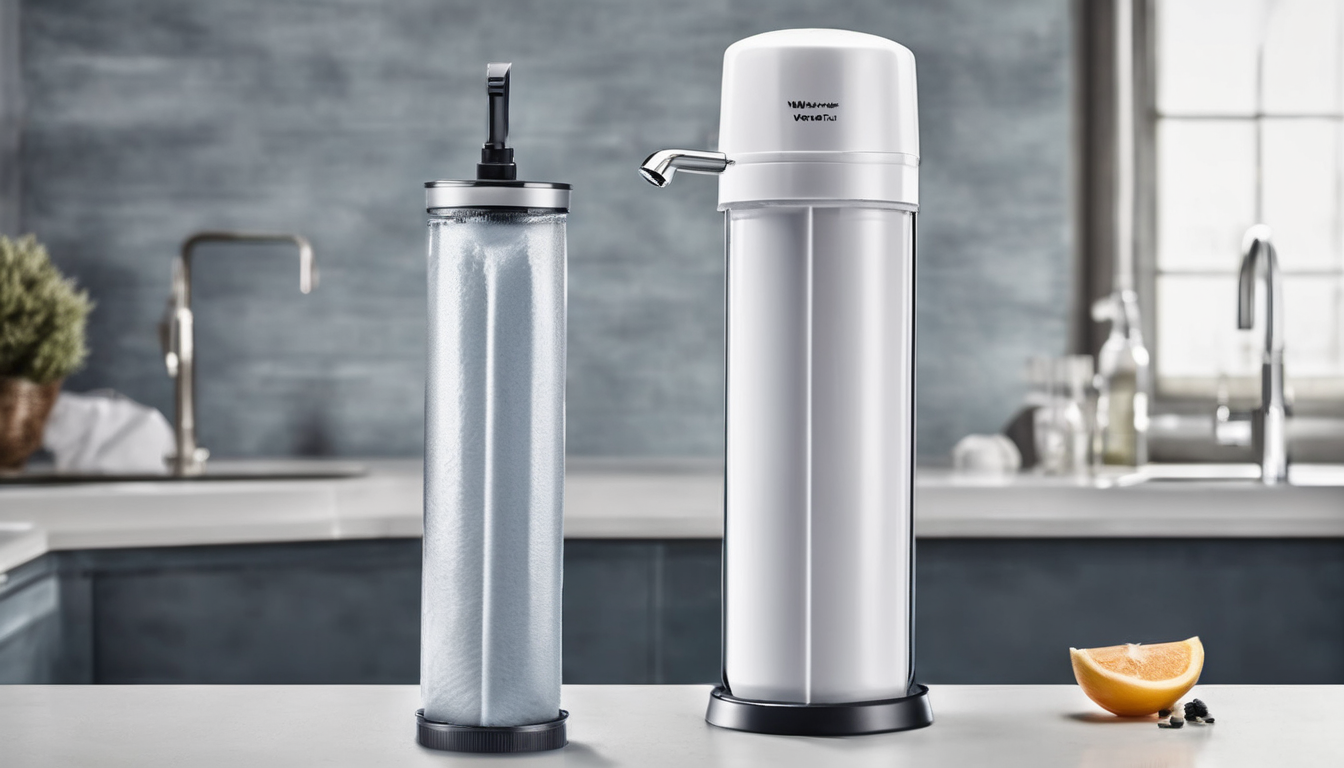
Maintenance Procedures: A Step-by-Step Guide
To ensure accurate readings, follow these maintenance procedures regularly:
- Calibration Checks: Use the manufacturer’s instructions to calibrate your test kit. This should be done at least once a year or more frequently if used daily.
- Cleaning: Clean your test kit with distilled water after each use and store it in a cool, dry place away from direct sunlight.
- Component Checks: Inspect all components for wear and tear. Replace any damaged or worn parts promptly.
- Record Keeping: Keep a record of test results and any changes you make to your water system, such as filter replacements.
Calibration Checks for Accurate Readings
Calibrating your DIY water test kit is crucial. Follow these steps:
- Select a Standard Solution: Use the standard solution provided by the manufacturer or purchase one from a laboratory supply company.
- Follow Instructions: Carefully follow the instructions for mixing the standard solution with your test kit. Compare results and adjust as necessary to ensure accuracy.
Handling and Storage Tips to Ensure Accuracy
Proper handling and storage are key to maintaining accurate readings:
- Avoid Cross-Contamination: Store test kits separately from other chemicals or substances that could contaminate them.
- Temperature Control: Keep your water test kit in a temperature-controlled environment to prevent any changes in reagents over time.
Replacing Components: When and How
Regularly check the condition of all components, including:
- Tubes and Pipettes: Replace if they show signs of wear or leakage.
- Test Strips: Discard after their expiration date as they may not provide accurate results.
- Cleaning Solutions: Always use distilled water to clean your test kit and replace any cleaning solutions that have expired.
Expert Tips for Maintenance
Here are some expert tips for maintaining your DIY water test kit:
- Regular Inspections: Perform regular inspections of all components. Replace any damaged parts immediately to maintain accuracy.
- Read Manufacturer’s Instructions: Follow the manufacturer’s guidelines meticulously for best results.
- Use Quality Components: Invest in high-quality test kits and reagents that are specifically designed for accurate water testing.
FAQs on DIY Water Test Kit Maintenance
Here are some frequently asked questions about maintaining your DIY water test kit:
- Q: How often should I calibrate my water test kit?
- A: It is recommended to calibrate your test kit at least once a year, or more frequently if used daily. Regular calibration ensures accurate readings.
- Q: Can I use any cleaning solution for my water test kit?
- A: No, it is crucial to use distilled water for cleaning your test kit. Tap water can contain impurities that may affect the accuracy of your results.
- Q: How do I know if my test strip has expired?
- A: Test strips typically have an expiration date printed on them. Discard any unused strips after this date to ensure accurate readings.
Conclusion: Ensuring Safe Drinking Water at Home
Regular maintenance of your DIY water test kit is essential for ensuring accurate and reliable results. By understanding the common results, performing regular calibration checks, handling components properly, and replacing parts when necessary, you can safeguard your family’s health and well-being. Remember to always follow manufacturer guidelines and invest in high-quality components for optimal performance.
For more information on Dubai Water Filtration in Dubai, contact us at SaniService, where we offer professional water testing and filter installation services to ensure the highest standards of water quality. Understanding Diy Water Test Kit Maintenance: Ensuring Accurate Readings is key to success in this area.