Understanding Install A Whole House Water Filter In Your Rv is essential.
Discover how to effectively install a whole house water filter in your RV and ensure clean, safe drinking water for you and your family on every adventure.
Table of Contents
Understanding How to Install a Whole House Water Filter in Your RV
Installing a whole house water filter in your RV is essential for ensuring clean, safe drinking water for you and your family. This guide will walk you through the entire process, from understanding the basics to completing the installation with precision.
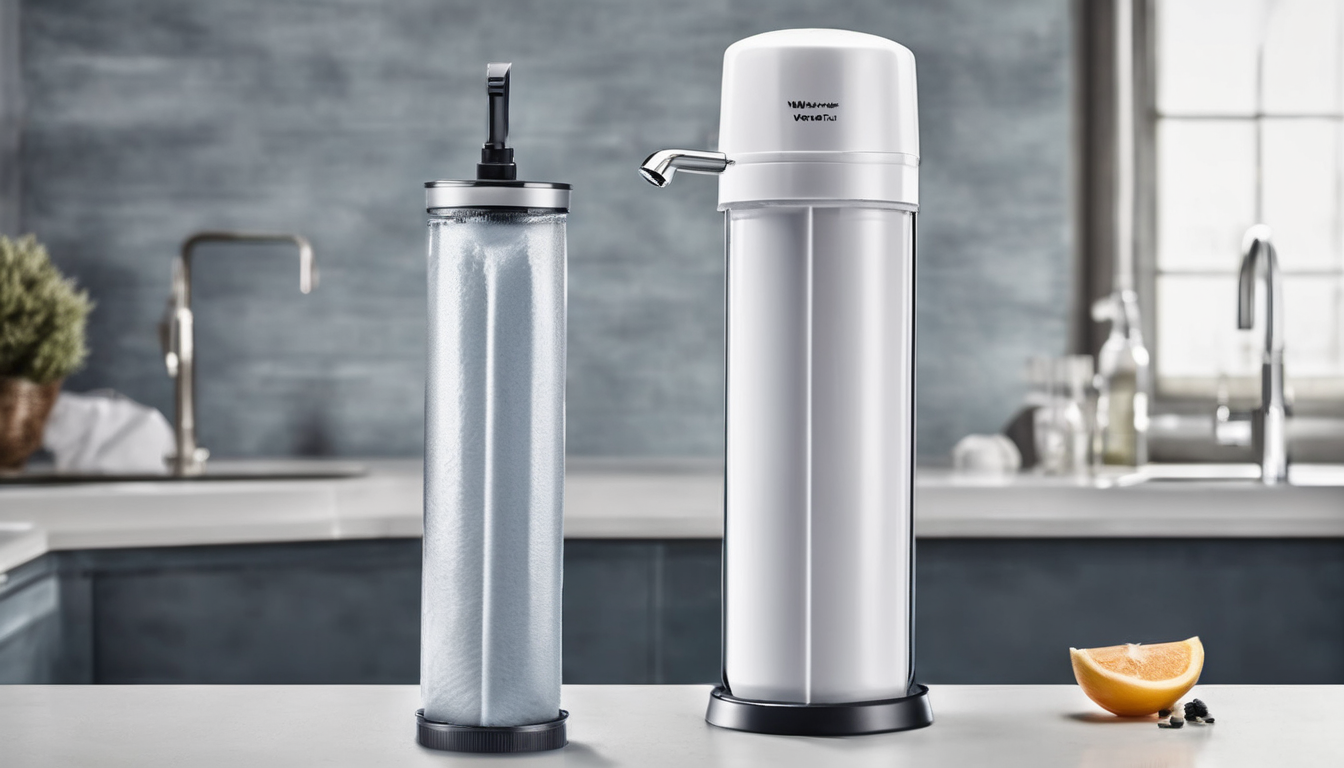
Why Install a Whole House Filter in Your RV?
Whole house water filters remove contaminants such as lead, chlorine, and sediment from your water supply. This not only improves taste but also protects your plumbing and appliances. In areas with poor municipal water quality or private wells, a whole house filter is crucial for maintaining the highest standard of water purity.
Install A Whole House Water Filter In Your Rv – What You Need for Installing the Filter
To install a whole house water filter in your RV, you’ll need the following items:
- Whole house water filter system (including pre-filters and post-filters)
- Tools: wrenches, screwdrivers, pipe cutter, and sealant
- Polyethylene tubing or braided stainless steel hose for connecting the filters to your plumbing
- Cleaning supplies and gloves
Install A Whole House Water Filter In Your Rv: Choosing the Right System
When selecting a whole house water filter, consider the following:
- Flow rate: Ensure it matches your RV’s water usage.
- Contaminants to remove: Look for systems that target lead and other heavy metals prevalent in RV water supplies.
- Installation complexity: Choose a system with easy-to-follow instructions, especially if you’re not experienced.
Preparation Steps Before Installation
Before beginning the installation process, ensure your RV is clean and well-ventilated. You should also:
- Shut off the main water supply to prevent leaks during installation.
- Locate the existing plumbing connections in your RV.
- Clear space for the filter system, ideally near a water source and drain for easy maintenance.
Installation Procedure
- Install pre-filters if required by the manufacturer. These are typically located closest to the water source and help protect the main filter from larger particles.
- Install the main filter in its designated position, using appropriate tools to secure it tightly but not over-tighten to avoid damaging the seal.
- Attach polyethylene tubing or braided stainless steel hose between the pre-filters and main filter. Ensure connections are tight with no leaks.
- Connect the post-filter to the water outlet, ensuring a secure fit to prevent contamination from the system itself.
Post-Installation Maintenance
After installation, you should:
- Check for leaks and make any necessary adjustments.
- Run water through the system to flush out any debris or sediment that may have been stirred up during installation.
- Test the water quality using a Water Test Kit to ensure the filter is functioning correctly.
Tips for a Successful Installation
- Follow manufacturer instructions meticulously, and refer to online tutorials if needed.
- Keep your tools organized to avoid misplacing any parts during installation.
- Test the filter periodically after installation to ensure it continues to provide clean water.
Frequently Asked Questions (FAQs)
- Q: How do I know if my RV has a suitable space for installing the filter?
- A: Look for areas near water sources and drainage points where you can easily access the plumbing. Ensure there is enough space to install the filter system comfortably.
Q: Can I use any Water Test Kit, or are specific brands recommended?
A: Use a reputable brand that provides accurate readings for heavy metals and other contaminants commonly found in RV water supplies. Regular testing helps ensure your filtration system is working effectively.
Q: How often should I replace the filter cartridges?
A: This depends on usage, but most manufacturers recommend replacing pre-filters every 6 months and main filters annually or as specified by the manufacturer. Regular replacement ensures optimal performance.
Conclusion
Installing a whole house water filter in your RV is a straightforward process that significantly enhances your drinking water quality. By choosing the right system, following detailed instructions, and maintaining regular testing and cleaning, you can enjoy clean, safe water for years to come.